
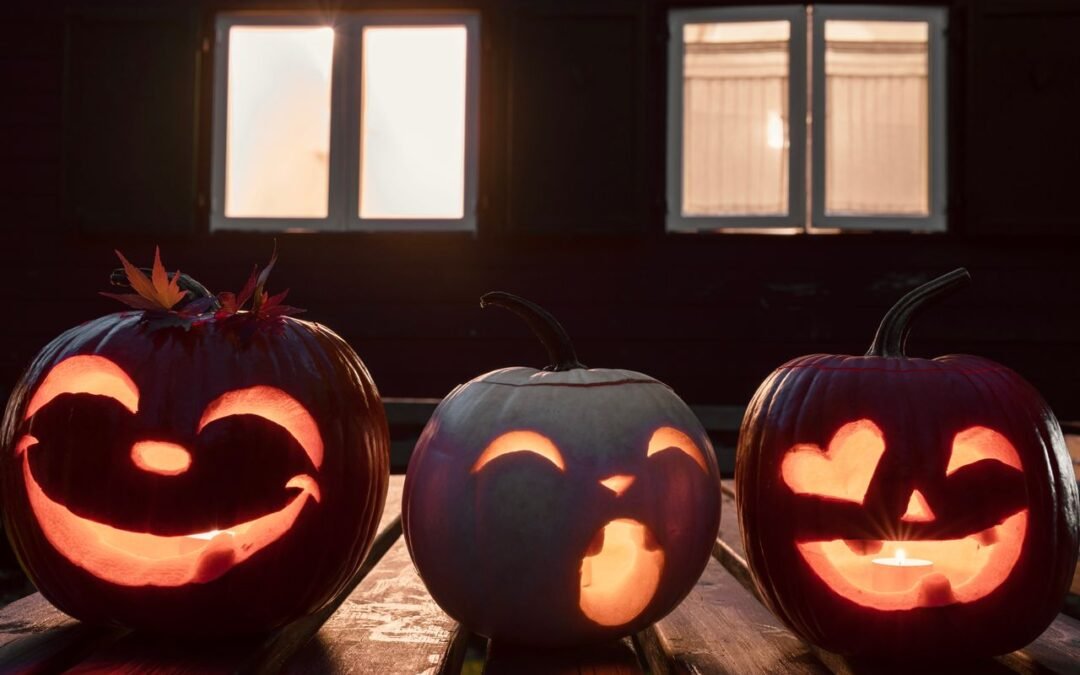
To carve a pumpkin well, pick a design that fits your skill level before you buy, choose a pumpkin with no soft spots and a flat bottom, cut the opening in the bottom, scoop and thin the wall to about 1/2 to 1 inch, transfer a template onto a dry pumpkin and cut along the dots. Adults handle the tools, and battery lights are safer than candles.
The pumpkin is on the kitchen table, and the only plan so far is “a face, probably.” Two hours later there’s a lopsided grin, a sore wrist and a candle that barely glows. Sound familiar? 🎃 The fix isn’t more talent. It’s picking carved halloween pumpkin ideas that match your skill level, your tools and who’s actually holding the knife.
- Choose the design first, then the pumpkin.
- Thin the wall to roughly 1/2 to 1 inch where the light should shine through.
- Kids draw, scoop and decorate. Adults cut.
- Carve closer to the event: NC State Extension says 8-10 days at most.
[VIDEO|alt=How to carve a pumpkin step by step for beginners]
How can I carve a pumpkin without wasting an evening?
We’d pick the design first and the pumpkin second. Once you know the design, you can match it to a pumpkin instead of being stuck with the size, shape and colour of whatever you happened to grab. Round, medium pumpkins suit simple faces, while larger ones handle elaborate scenes. Professional carver Jon Neill favors thick-skinned varieties like Wolf and Howden for detailed work, and he goes by a simple rule: the stem’s thickness roughly equals the skin’s thickness. Thinner-skinned pumpkins are friendlier for beginners.
Then the order of work matters. This is a real sequence so here it is step by step:
- Cut the opening. The bottom works well because you keep the stem and the shape, pulp settles there so cleaning is easier, and you can set the light on a table and lower the pumpkin over it.
- Scoop out the seeds and strings, and scrape the wall until it’s roughly 1/2 to 1 inch thick where the light needs to shine through. A potter’s loop tool does this fast.
- Tape a printed template to a dry pumpkin (one carver notes a washed pumpkin makes it nearly impossible to make a pattern stick) and poke holes along the lines.
- Peel the paper off and cut along the dots with short, controlled strokes.
A thick-skinned pumpkin with a detailed design needs extra time for thinning. Short on time? Go with a bold, simple shape instead. And if the light barely shows through once it’s lit, the wall is probably too thick so thin it before you cut any further.
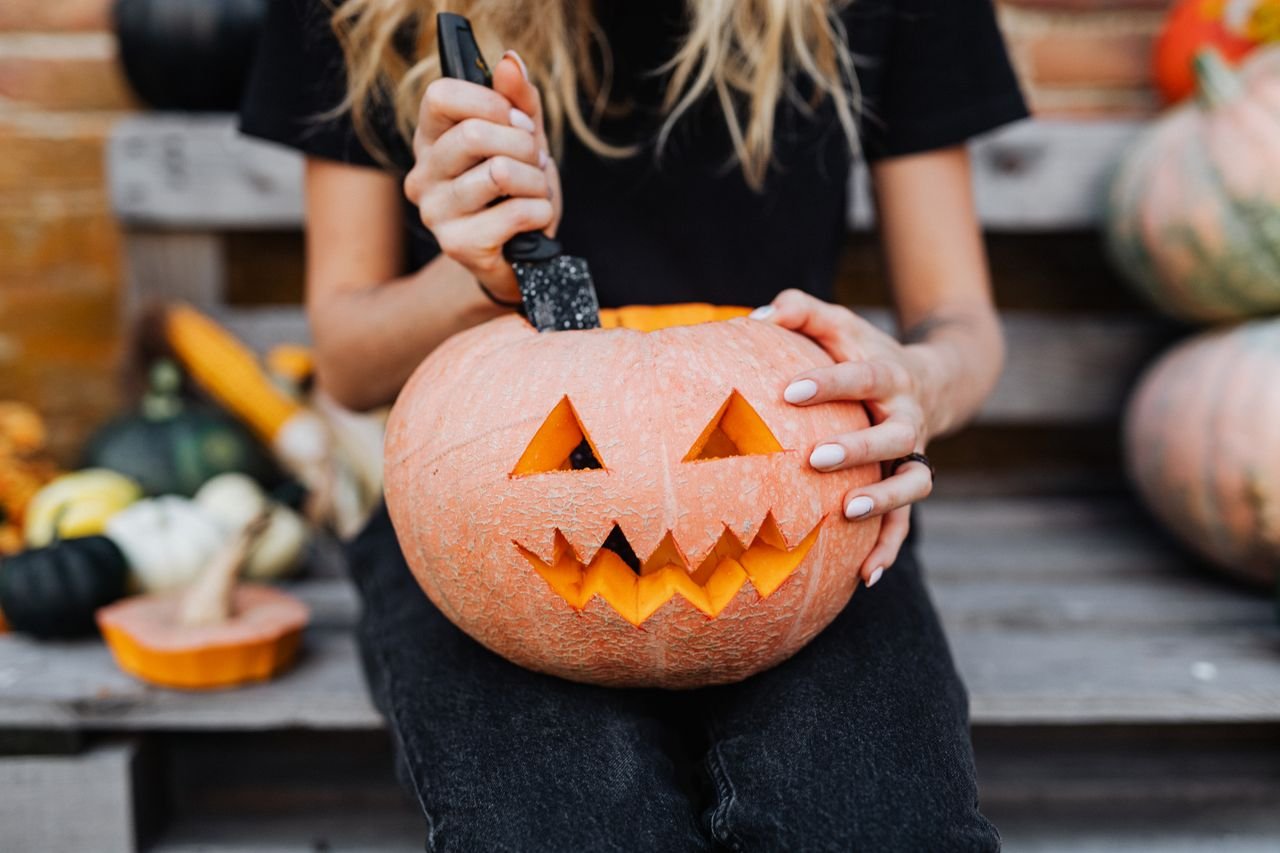
Easy pumpkin carving ideas for beginners and kids
Easy pumpkin carving starts with forgiving shapes: triangle eyes and a jagged mouth, one big toothy grin, or a row of small round holes for a polka-dot look. Short, simple cuts make the easiest pumpkin carving designs because there’s no long line to wobble. Classic pumpkin carving faces work best on a round, medium pumpkin with a flat front. The pros at Maniac Pumpkin Carvers say even beginners can try detailed designs if they plan first, but nobody is forcing you to.
Ideas for carving small pumpkins follow the same logic with less effort. Give each one a single bold shape, like a crescent moon or a star. A cluster of small ones on the porch looks planned, and you can finish several in the time one large pumpkin takes.
For simple pumpkin carving ideas, a basic kit is enough. The pros say cheap grocery-store carving kits are fine, and wood-carving or linoleum tools are the upgrade once you want finer detail. Hand surgeons add that a sharper knife isn’t better, since it can wedge in thick flesh and slip. If the blade feels stuck, stop and rethink the cut instead of pushing harder.
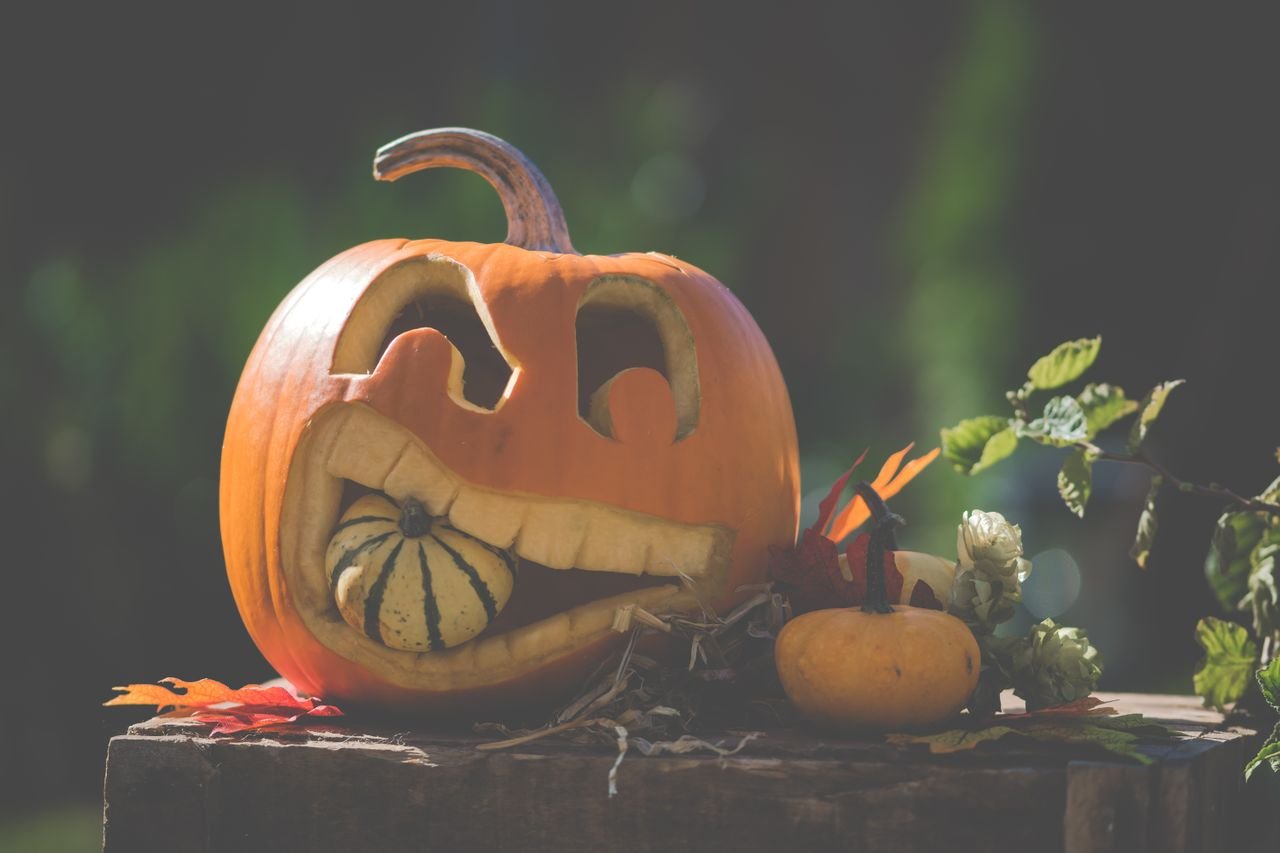
Can kids carve? The CPSC says adults, not kids, should use carving tools. Safe jobs for kids are drawing the design, scooping seeds and decorating. That still leaves plenty of room for cute pumpkin carving ideas built on round shapes: a smiling face with big circular eyes, a cat with triangle ears cut into the top edge, a sleepy owl. Funny pumpkin carving ideas work the same way with an expression. Try a pumpkin mid-sneeze, one with crossed eyes, or a wide-open mouth. These make fun pumpkin carving ideas for a family evening, with an adult holding the tools.
[IMG4|alt=Easy pumpkin carving ideas for kids with simple triangle faces]
Scary, cool and no-carve pumpkin ideas
Scary and easy pumpkin carvings rely on contrast and angle, not complexity. Slanted brows, uneven teeth of different sizes and a mouth that curls off to one side look more menacing than a perfectly symmetrical face. For an easy scary pumpkin, cut narrow slits for eyes and leave a tooth or two out.
Ghost pumpkin carving is a good middle step. Cut an oval mouth and two hollow eyes, then scrape the wall thin around them so the glow turns soft and eerie. For more ambition, carving scary pumpkins gets fun with classic horror themes like vampires or zombies. Thin parts snap, so sketch the design on paper first and keep the narrow bridges attached.
If you want something cooler, try etching, where you peel only the outer skin instead of cutting through. Etched designs show the light best when the wall is thinned to about 1/2 to 1 inch. Creative halloween pumpkin carving ideas can mix cut-through areas for the bright parts with etched areas for softer shading. Planning is the whole trick: sketch it, size it to the pumpkin, then cut.
The scare factor has a history, by the way. A jack-o’-lantern is a pumpkin with a lid cut off, the flesh scooped out and an image carved into the rind, with a light inside. The name is tied to the Irish tale of Stingy Jack. People in Ireland carved turnips first, and immigrants brought the habit to America, where native pumpkins were easier to find and easier to cut. Magazines were printing how-to articles by 1842. Time also reports that kids once frightened people with lit carved pumpkins, a “carved pumpkin trick” that helped make the hobby popular. So if your first attempt looks creepy by accident, you’re in good historical company.
Not every idea needs a blade. For no carve pumpkin decorating, use paint, markers or stickers, and let pumpkin carving and painting ideas live side by side: paint some for the porch, carve others for the glow. Styrofoam craft pumpkins come pre-hollowed and can be carved and kept all year, so they suit detailed designs and long displays that won’t rot.

Safety and keeping your pumpkin fresh
This part gets skipped, and it shouldn’t. The CPSC says pumpkin carving made up more than 40% of Halloween injuries in the year it cited, and recommends lighting pumpkins with battery-operated lights. A ten-year hospital tally counted over 20,500 knife injuries in the US (2012-2021), 87.6% of them to the hand, with October 30 as the peak day. Carve in a clean, dry, well-lit area, with dry hands and dry tools.
Should I use a real candle? We say go with battery lights. Heat speeds decay, and petroleum jelly on cut edges is flammable. If you still want a flame, put the candle in a glass holder and cut a small chimney hole in the lid.
What is the best time to carve a pumpkin? Closer to the event is better, and sources disagree on how long it lasts. NC State Extension advises carving at most 8-10 days before, while Home Depot says pumpkins typically begin to decay two to three weeks after carving. Go with the shorter window if your weather is warm. To slow rot, remove all pulp, dry the inside, seal cut edges with petroleum jelly and keep the pumpkin cool and shaded (about 50-60°F) and off damp ground. For a disinfecting soak, bleach ratios vary by source and a bleached pumpkin is inedible. A non-bleach option is 20-30 minutes in 1 part vinegar to 10 parts water, then air drying. A wilted pumpkin can bounce back after a 1-2 hour ice-water soak, dried thoroughly.
What if I cut myself? Stop carving and take care of the cut. If it is deep or you are unsure, get medical care.
Pumpkins glowing? Now go and get scared for real 👻
Once the pumpkins are lit on the porch, why stop at a spooky doorstep? Step inside the story. Maze Rooms runs escape rooms across Los Angeles, with locations on Highland Avenue, at LAX, and on Robertson Blvd, Santa Monica Blvd, Sepulveda Blvd, Venture Blvd and Vermont Ave. Several rooms lean dark: MOTEL (locked in a strange motel room), THEY’RE COMING (a zombie quarantine zone), PHARAOH’S TOMB, VAMPIRE (help Van Helsing hunt a vampire, in a large Tarzana room that fits about eight people) and JACK THE RIPPER. Your team becomes the heroes, and the clock is ticking.
How scary are the rooms, and what does a game cost?
The scary rooms build tension with sound effects, the latest technology and live actors, all in a safe setting. For a gentler night there are family-friendly rooms, and Spy Dogs is doable for all ages. Customers often mention friendly game masters who wait until you ask for help before giving clues.
Typical rooms run 60 minutes and are designed for 2-8 players. Tickets are usually $35-49.50 per person, depending on room and team size, and playing as a full group triggers per-ticket discounts.
Book your night with the Maze Rooms team
Maze Rooms is open 7 days a week and doesn’t take walk-ins, so book online ahead of time: [BOOKING LINK]. Before you pick a room, tell the team how many players you have, whether younger players or anyone who scares easily is coming, and how dark you want the night to be. They’ll point you to the right room, whether that’s VAMPIRE for a bigger crew or Spy Dogs for the whole family. Questions go to contact@mazerooms.com, or call +38 052 028 20 81 or +38 010 595 28 81.
Our Locations & Rooms
Highland Ave
Robertson Blvd
Santa Monica Blvd
Playa Del Rey
Vermont Ave
Sepulveda Blvd
Ventura Blvd